Table of Contents
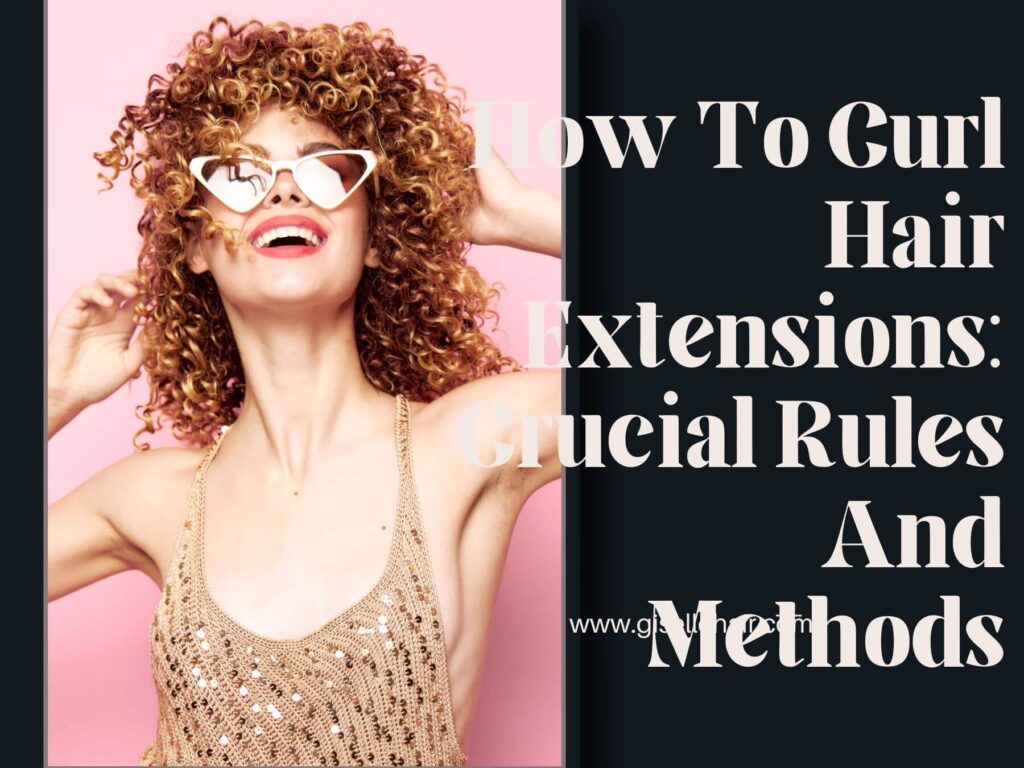
Curling hair extensions allows you to experiment with fun, voluminous styles. But whether you’re working with human hair or synthetic fibers, curling extensions requires following some key rules to avoid damage and achieve beautiful results.
In this comprehensive guide, you’ll learn crucial techniques for curling hair extensions using heat tools or heatless methods. Discover pro tips for selecting the right curling tools, prep work before styling, step-by-step curling instructions, and aftercare to maintain your new ‘do.
Ready to unlock endless styling possibilities and master the art of curling extensions? Let’s dive in!
Understanding Extension Materials: Human Hair vs. Synthetic
The first step to expertly curling extensions is understanding what type of hair you’re working with, as the material determines what curling methods are safe. Let’s look at the key differences between human hair and synthetic extensions.
Curling Human Hair Extensions hair extensions are made from real human hair collected from donors. The key benefit is that they can be styled and heated like your own hair. Human hair is available in textures like Indian, Brazilian, Peruvian, Malaysian, and more.
Some advantages of human hair extensions:
- Withstand high heat from curling irons, wands, and hot rollers
- Can be permed, colored, and heat-styled repeatedly
- Blend seamlessly with natural hair
- Create very natural looking curls and waves
- Retain curls for longer
- Higher quality and more durable
The main drawback of human hair is the higher cost, but the versatility and longevity provide great value for money.
Curling Synthetic Hair Extensions
Synthetic extensions consist of plastic-based fibers designed to imitate real hair. While very affordable, synthetics have some limitations:
- Cannot withstand high heat above 180°C-220°C
- May melt, burn, or become irreparably damaged by hot tools
- Can only be curled using heatless methods
- Curls fall out faster than human hair
- Sometimes have a glossy, artificial shine
However, quality heat-resistant synthetics like Remy or Kanekalon can be gently curled at lower temperatures. Fiber technology is also improving, providing more heat tolerance.
So check the manufacturer’s recommendations before attempting any heat styling on synthetic extensions. When in doubt, opt for heatless curling techniques.
Selecting the Right Curling Tools
Curling Irons and Wands
Curling irons and wands are the go-to for defined, polished curls. The barrel size and material affect the curl shape:
- Smaller barrels (3/4″ or less): Tight ringlets and spirals
- Medium barrels (1″ – 1 1/4″): Bouncy curls and waves
- Larger barrels (1 1/2″+): Loose, textured waves
- Tourmaline: Smoother curls and less frizz
- Ceramic: Even heating to minimize damage
- Titanium: Heats up quickly but can be damaging
Adjust the temperature based on your hair type:
- Fine or damaged: 300°F or below
- Medium or wavy: 300°F – 350°F
- Thick or coily: 350°F-400°F
Curling Tongs and Straighteners
You can also wrap sections of extensions around the exterior of a curling tong to create curls. Or make waves by just using a hair straightener to flip hair up and outwards.
These work best for beachy, imperfect waves rather than defined curls. The plates should be 1 1/2″ or larger and use ionic, ceramic, or tourmaline technology.
Hot Rollers
Hot rollers are heated cylindrical tubes that you roll extensions around to set the curl. They create voluminous, bouncy curls and are available in multiple sizes:
- Jumbo rollers: 1 3/4” or bigger – loose waves
- Large rollers: 1 1/2” – flowing curls
- Medium rollers: 1 1/4”-1 1/2” – spiral curls
- Small rollers: Under 1” – tight ringlets
Using a combination of roller sizes adds texture and dimension.
Flexi Rods
Flexi rods are plastic, bendable curlers that allow you to curl extensions without applying direct heat. They’re excellent for heat-free waves or tighter curls:
- Small rods (1/4″ – 3/8″): Spiral curls
- Medium rods (3/8″ – 1/2″): Bouncy curls
- Large rods (1/2″ – 3/4″): Beachy waves
- Jumbo rods (3/4″+): Loose waves
How to Choose the Right Curling Tools
Consider these factors when selecting curling tools:
- Hair texture and fragility
- Desired curl shape and volume
- Human hair vs. synthetic fibers
- Your curling skill level and experience
- Budget
For defined curls, opt for a clipping iron/wand between 0.5″-1.5″ in diameter. Try hot rollers for touchable, natural waves. Or use flexi rods if you want to avoid direct heat altogether.
Prepping Extensions for Curling
Proper prep is crucial for avoiding damage and enhancing curl longevity when heat styling extensions. Follow these tips:
Detangle Extensions
Gently brush through extensions with a wide-tooth comb before curling to prevent snags and breakage. For curly or textured extensions, use your fingers or a wet brush very carefully.
Apply Heat Protectant
Spray a thermal protectant evenly throughout extensions before heat styling. This adds a protective barrier against temperatures up to 450°F-500°F.
Wash Extensions
If extensions feel excessively dry or tangled, do a gentle co-wash to hydrate strands and facilitate detangling. Air dry fully before attempting to curl.
Add Holding Products
For extra curl definition, work some curl cream, mousse or styling gel through damp extensions before blow drying or curling. This provides hold.
Section Extensions
Part extensions into manageable horizontal or vertical sections. Use clips to separate for easier handling during curling.
Step-By-Step Guide: Curling Human Hair Extensions
Once prepped, follow these steps to achieve stunning curls with your human hair extensions:
Step 1: Choose Your Tool
Select a curling iron, wand, or hot rollers suited for your desired curl shape and volume. Have duckbill clips, a tail comb, heat protectant, and holding product on hand.
Step 2: Set the Temperature
Set the tool’s temperature between 300°F-400°F, testing a lower setting first if hair is delicate or damaged. Going over 400°F risks burning and breakage.
Step 3: Section Extensions
Work in horizontal subsections for a seamless blend with your natural hair. Vertical sections create defined spirals. Secure with clips.
Step 4: Heat Protect!
Mist extensions lightly with thermal protectant to shield from styling damage. Avoid saturating hair which can diminish curl.
Step 5: Curl Extension Pieces
Wrap a 1-2 inch section around the iron or roller and hold for about 8-10 seconds before releasing in a spiral.
Step 6: Set the Curl
Once a section is curled, gently pin the curl against your scalp using a duckbill clip to set the shape. Repeat steps 5-6 until all hair is curled.
Step 7: Release Curls
Carefully remove clips and pins. Shake curls lightly using your fingers for volume and separation. Avoid brushing to maintain definition.
Step 8: Finish and Set
Shape curls as needed with fingers. Finish with a flexible hold hairspray for longevity and added shine. Scrunch gently to break up uniform curl patterns.
And that’s it! Enjoy your salon-worthy curls. Just beware of high humidity, which can cause frizz and accelerate curl droop. Use anti-humectant products to maximize longevity.
Now let’s look at how to adapt the process for heatless curling.
Heatless Curling Methods for Extensions
While heatless curling takes longer, it’s ideal for synthetic hair or fragile human hair prone to damage. Here are some techniques:
Flexi Rod Curling
Flexi rods avoid direct heat while allowing you to control the curl shape. Follow these steps:
- Dampen extensions and add curl cream for hold and definition.
- Part hair into sections and brush through knots.
- Take a 1-2” piece and wrap smoothly around a flexi rod, securing ends inside the funnel tip.
- Roll rod upwards to your scalp and hold in place with a clip.
- Repeat for all sections until hair is fully rolled. Air dry or sit under a hooded dryer.
- Carefully remove rods once hair is fully dry. Define curls by scrunching gently.
Braiding/Twisting
Small braids or twists dried into place transforms straight extensions into waves and curls:
- Shampoo, condition, and towel dry extensions until damp.
- Add a styling cream or mousse for hold.
- Create braids or two-strand twists all over in the desired size – smaller sections for tighter curls.
- Circle the braided extension pieces atop your head and secure in a bun shape with a scrunchie.
- Let fully air dry overnight. Gently remove braids and separate curls.
Straw Curls
For playful spirals, wrap damp sections of extension hair tightly around drinking straws:
- Apply leave-in conditioner to wet extensions for hydration and slip.
- Take a 1 inch section and smooth tightly around a straw starting about 1 inch from the scalp.
- Slide straw off while maintaining the coiled shape against your head.
- Leave wraps in place until completely dry, then gently unwrap.
Headband Curls
Section damp extensions and secure them under a headband against your head. The coiled shape sets into bouncy curls once dry.
Bantu Knots
Part damp extensions into square sections. Coil each section into a tight bun shape close to the scalp and secure with a hair tie. Dry fully before uncoiling.
No matter which method you choose, heatless curling allows you to achieve stunning curls without risking any heat damage. Play around until you find your favorite techniques.
Caring for Curled Extensions
How you care for curled extensions is vital for maintaining the beautiful results. Follow these pro tips:
- Gently brush curls using a wide-tooth comb only when needed, and always starting from the ends to avoid tangling. Finger comb when possible.
- Use a silk or satin pillowcase. The smooth fabric minimizes friction to reduce curl disruption and frizz.
- Wear a loose braid or ponytail at night. This prevents curled extensions from tangling as you sleep.
- When shampooing, use lukewarm water and target the roots only. Rinse curls very gently to avoid loosening the curl pattern.
- Apply a nourishing curl cream or foam after washing to rehydrate strands. Scrunch in a curl-safe serum as well for added moisture and shine.
- Let extensions air dry naturally rather than blow drying for best curl maintenance.
- Add a heat protectant before re-curling with hot tools to avoid compound damage over time.
- Avoid chlorine, salt water, and products containing sulfates or parabens which cause faster curl droop.
With the proper styling method and aftercare, your new glamorous curls will last longer and withstand daily wear and tear. Time to show off those fabulous locks!
Key Takeaways
- Know your extension composition – human hair can tolerate more heat, while synthetics require heatless curling.
- Choose the right curling iron, wand, hot rollers or flexi rods for your desired curl shape and volume.
- Prep extensions by detangling, using protectants, and sectioning hair before curling.
- Follow step-by-step heat curling techniques for smooth, defined waves. Or opt for heatless methods like braiding or flexi rods.
- Set curls initially by pinning or clipping, then gently break up the uniform pattern for a natural finish.
- Maintain your new curls by sleeping on satin, avoiding brushing, limiting heat exposure, and deep conditioning regularly.
With this complete guide, you have all the techniques needed to create stunning curls with hair extensions using your choice of heat styling or no-heat methods. Just remember – preparation is key, so never skimp on those initial detangling and protection steps before curling. Handle curled extensions gently, and refresh your new ‘do with hydrating products.
Soon you’ll be styling fabulous curls as flawlessly as the pros. So embrace the endless possibilities these tips unlock for customizing your extensions. Whether you’re after touchable waves, dramatic ringlets or just enviable volume, you now have the skills to make those hair dreams a reality!